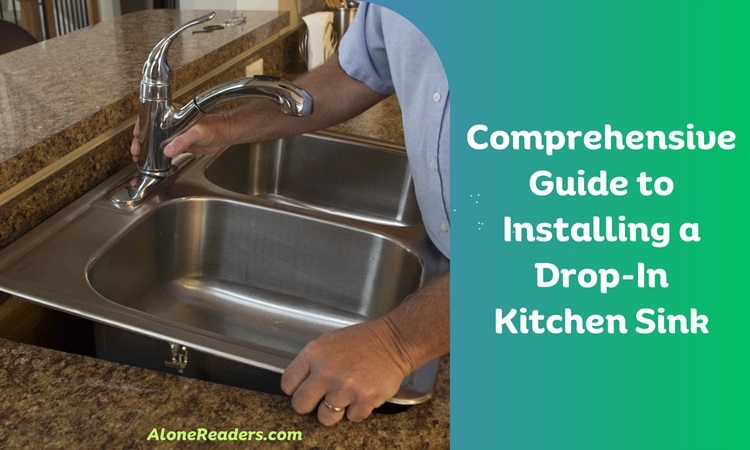
Drop-in kitchen sinks, also known as top-mount sinks, are popular for their variety and ease of installation. They are available in multiple styles like stainless steel, single or double-bowl, farmhouse, and granite designs. Installing a drop-in sink can significantly enhance your kitchen's functionality and aesthetics. Here’s a detailed guide on how to do it.
A drop-in sink, or a top-mount sink, is installed by placing it into a pre-cut hole in the countertop. It's supported by a rim or lip around its edge that rests on the countertop surface.
Choosing the correct size is crucial. If you’re replacing an existing sink, simply match the new sink to the width of the old one. For new installations, consider your cabinet width, as it determines the maximum size of your sink. Opt for the widest sink that fits your base cabinet for maximum utility.
To remove an existing sink, first turn off the power and water supply. Disconnect supply and drain lines, and the garbage disposal, if present. Loosen the mounting clips under the sink and lift it out. If it's stuck, gently cut through the sealant around the edge with a utility knife.
Installing the plumbing for a drop-in sink is generally straightforward. However, in certain situations, like when adjusting the P-trap or installing new components, it might be wise to consult a professional.
The cost to install a drop-in sink varies between $260 and $1,250, depending on the complexity and the type of sink.
Final Word
Installing a drop-in kitchen sink is a manageable DIY project that can add both functionality and style to your kitchen. With careful planning and attention to detail, you can achieve professional results, enhancing your kitchen's overall look and feel.