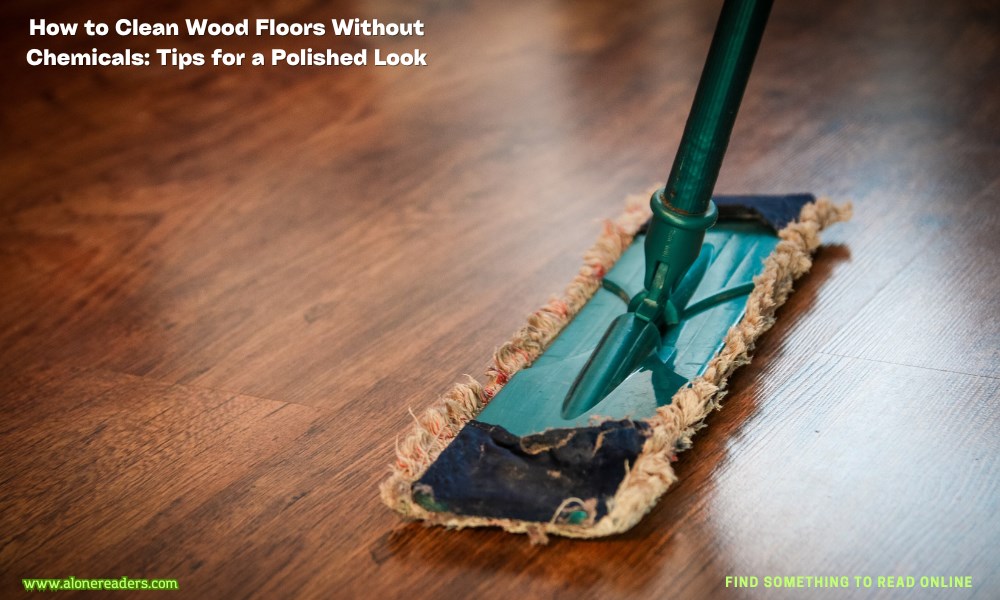
There is constant movement on floors, and spills, dings, and mishaps are unavoidable. Though even the best materials can get dirty, hardwood floors are fortunately known for being highly clean. The greatest approach to cleaning wood floors begins with thoughtful preventative actions that save cleaning time and help preserve floors. Wood floor cleaning contributes to maintaining the best possible condition for the flooring in your house in addition to regular preventative measures.
The amount of family members, lifestyle, pets, and traffic on your hardwood floors are just a few of the variables that will determine how frequently you clean wood floors. Hardwood floors can be effectively cleaned with a routine once-over with an excellent broom or dust mop. Scrub floors once a month for a deeper clean.
Before cleaning, make sure you vacuum or sweep the floor to stop dust from getting everywhere. Use a soft cloth or towel to buff the floors dry instead of letting them air dry.
Check If There Are Sealed Floors
It's important to know what kind of finish has been applied to your hardwood floors before cleaning them. Does the floor have a polyurethane finish applied to it? A water-based solution or steam cleaner can be used to clean a sealed floor if a drop of water remains on the surface.
If the water drop absorbs rapidly, the sealant has either worn off or was never applied. You should use less water when cleaning if the floor is not sealed. Use a damp microfiber cloth as needed to achieve a deeper clean, and then quickly dry with a dry microfiber cloth.
Purchase a High-Quality Vacuum
A cordless vacuum for hardwood floors might be something you want to buy if your house has a lot of hardwood flooring. One model that we have ranked as one of the best available is the Dyson Omni-Glide+.
Look for a pet hair vacuum that is safe for hardwood floors if you have dogs or cats in your house. A robot vacuum that can clean carpets and hard surfaces is a good option for people who want something more hands-free.
To Clean With Vinegar
To Clean Cracks
To Clean Paint on Floors
Step 1: Trash, Dirt, and Debris Removal
Pick up any debris and take small items off the floor, like area rugs, before beginning any floor cleaning. This will make the cleaning process go more quickly and smoothly.
Next, clear the soil and loose dust. The debris can be removed with a broom or vacuum without a beater bar.
A microfiber dust mop, however, is the best option. Every time you use a mop, you can have a clean one because the mop's fibers draw and hold dirt, allowing you to wash the mop head.
Step 2: Combine the Cleaning Solution
Mix one cup of distilled white vinegar or half a cup of cleaning vinegar with one gallon of water in a big bucket or sink. Pay close attention to the product instructions if you choose to use a commercial hardwood floor cleaner. To prevent waxy buildup, which can give wood floors a boring appearance, only use the amount prescribed.
Step 3: Wash Wood Floors
To ensure that the mop is only slightly damp and not dripping, dip a clean microfiber mop into the solution and wring it out. Avoid saturating the floor with too much water.
Once the entire room is cleaned, begin in the far corner and move toward the door. As the dirt is removed from the floor, rinse the mop regularly.
Step 4: Allow Flooring to Dry
Walk on the floor only after letting it air dry. Keep in mind that too much moisture can harm wooden floors. To speed up the drying process, install a circulating fan or turn on ceiling fans. In this manner, you can replace any rugs or other floor items you previously cleared, and walk on the floor sooner.
It is simple but takes some time to remove the dirt and debris that gets trapped.
Step 1: Separate the Floor into Small Areas
Beginning in the room's farthest corner and working your way toward the door, clean the area in little sections. If you are unable to clean the entire room at once, this technique will help you pick up where you left off.
Step 2: Combine Cleaning Agent
Fill a small bucket with two cups of warm water and one-fourth cup of distilled white vinegar.
Step 3: Clean the Cracks
Shake slowly until lightly moistened after placing a soft-bristled toothbrush into the solution. After giving the cracks a light scrub, use a soft cloth to remove any extra dirt. You can use a handheld vacuum or a vacuum with a crevice tool to remove it.
Step 4: Clean Up the Floors
Continue dusting and mopping the floor as usual after cleaning the cracks.
Using Dish Soap
Using Alcohol and Lemon Juice
Using Heat
It's advisable to avoid using ammonia, alkaline products, or abrasive cleaners on your hardwood floors to prevent damage. Adhere to natural cleaning techniques or use cleaners made especially for wood floors. Similarly, don't use furniture sprays, oil, or wax on hardwood floors. By doing this, you can keep your floor from getting too slippery and avoid leaving residue on it.
Final Word
The secret is to clean wood floors often and methodically if you want them to look gorgeous and shine for many years. Ultimately, in our homes, floors sustain the most wear and tear. Consider all of the debris, dust, and grime that gets tracked in from the outside or that gets kicked up from wearing shoes inside the house.
Not only are excessively dirty wood floors unhygienic and unclean, but they can also be harmed by the wood itself, which can be costly to replace, refinish, or repair. Hardwood floors can last longer if they are cleaned regularly using simple tools and natural cleaning agents.